Easy Oogie Boogie Crochet Pattern: Step-by-Step Guide
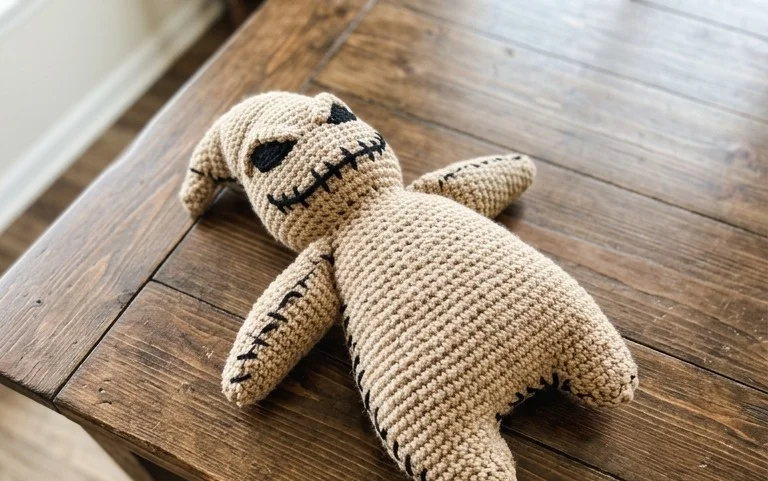
This lumpy and bumpy character brings a nostalgic touch of spooky charm to your living room decor or a child’s bedroom shelf. The finished basket features a rugged, textural surface that mimics the iconic burlap appearance of the classic screen villain while remaining sturdy enough to hold small household trinkets or candy. You will enjoy how the single crochet stitches build up height, offering a rhythmic project that helps you master consistent tension. This guide breaks down the essential construction techniques needed to create the base and sides, ensuring your handmade storage container stands upright without losing its unique, slightly crooked personality.
Why Crocheters Love It
This beginner-friendly project works up quickly, making it an ideal choice for last-minute gifts or stash-busting sessions. The repetitive nature of the single crochet stitches creates a dense, sturdy fabric that holds its shape well, which is essential for structured items like baskets. You can easily adjust the size by working more or fewer increase rounds, allowing you to customize the diameter to fit your specific storage needs. The design is simple enough to work on while listening to an audiobook or watching television, providing a rhythmic, relaxing experience.
I finished this basket in just one afternoon using leftover yarn from my closet. It holds all my sewing supplies perfectly on my desk.
— Sarah, hobbyist crafter
Pattern Overview & Skill Level
- Skill Level: Beginner
- Approximate Time: 2 to 3 hours
- Construction: Worked in continuous rounds from the center base upward to create a seamless bowl shape.
- Finished Dimensions: 6 inches in diameter and 5 inches in height.
Materials & Supplies Needed
- Yarn: Worsted weight (#4), cotton blend, approximately 180 yards. Cotton provides the necessary stiffness for a basket, whereas acrylic may result in a softer, slouchier finish.
- Hook Size: 5.0 mm (H-8).
- Notions: Tapestry needle for weaving ends, stitch marker to track the start of rounds, and a pair of sharp scissors.
- Yarn Substitutions: A wool-blend yarn will work well but will be less structured than 100% cotton. If you choose a lighter weight yarn, you must use a smaller hook to maintain density and prevent gaps between stitches.
Stitch Guide & Abbreviations (US Terms)
- MR: Magic ring
- ch: Chain
- sc: Single crochet
- inc: Increase (2 sc in the same stitch)
- dec: Decrease (sc2tog)
- sl st: Slip stitch
- BLO: Back loop only (inserting the hook only under the back loop of the stitch to create a ridge)
- st(s): Stitch(es)
Step-by-Step Pattern Instructions
Basket Base
- Rnd 1: Work 6 sc into a magic ring (6 sts).
- Rnd 2: Inc in each st around (12 sts).
- Rnd 3: [Sc in next st, inc in next st] 6 times (18 sts).
- Rnd 4: [Sc in next 2 sts, inc in next st] 6 times (24 sts).
- Rnd 5: [Sc in next 3 sts, inc in next st] 6 times (30 sts).
- Rnd 6: [Sc in next 4 sts, inc in next st] 6 times (36 sts).
- Rnd 7: [Sc in next 5 sts, inc in next st] 6 times (42 sts).
Basket Sides
- Rnd 8: Sc in BLO of each st around (42 sts).
- Rnds 9–20: Sc in both loops of each st around (42 sts).
- Rnd 21: Sl st in each st around to create a finished edge. Fasten off and weave in ends.
Care & Washing Instructions
- Hand wash the finished basket in cool water with a mild detergent to preserve the structure.
- Gently squeeze out excess water, then reshape the basket while damp and lay it flat on a towel to air dry.
- Do not machine wash or tumble dry, as high heat and agitation can cause the cotton to shrink or lose its shape.
Pro Tips & Common Mistakes to Avoid
- Maintain tight tension throughout the project to ensure the basket walls are firm enough to stand upright.
- Always place a stitch marker at the first stitch of every round to avoid losing your place in the continuous spiral.
- Weave your ends back and forth through the base of the basket rather than just trimming them, as this prevents the bottom from unravelling over time.
- If you want a larger basket, simply continue the increase sequence in the base (e.g., [sc in next 6 sts, inc in next st] for Rnd 8) before starting the side rounds; note that this will require significantly more yarn.
Frequently Asked Questions
Can I use acrylic yarn instead of cotton?
Yes, you can use acrylic, but keep in mind that it is naturally softer and more elastic. Your basket may require starching or a thicker stitch density to hold its shape compared to one made with cotton.
How do I make the basket taller?
Simply repeat the instructions for the side rounds (Rnds 9–20) until the basket reaches your desired height. Remember that additional rounds will increase your total yarn consumption.
Is this pattern suitable for someone who has never crocheted before?
This is a perfect project for a beginner. It relies entirely on the single crochet stitch and teaches basic techniques like the magic ring and working in continuous rounds, which are foundational skills for many future projects.
Am I allowed to sell the baskets I make from this pattern?
You are welcome to sell items made from this pattern, but please credit me as the designer when listing your products. Do not sell or distribute the pattern itself in any form.
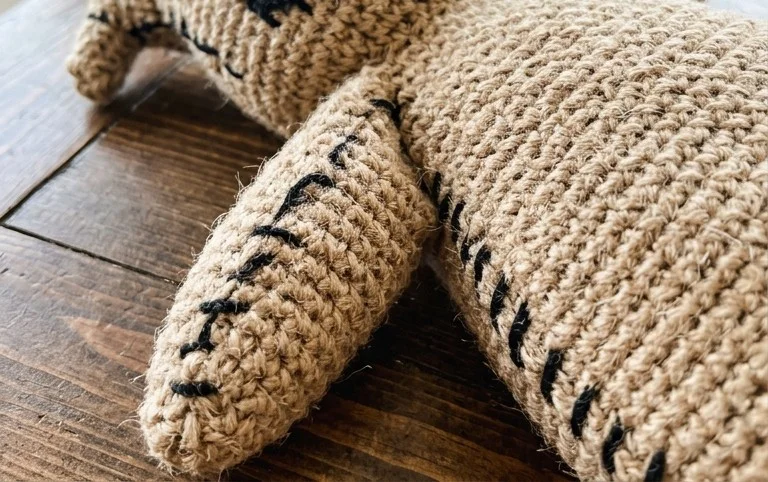
Your new handmade basket serves as a fun conversation piece that organizes your space while honoring your favorite holiday films. Try working this in a thick jute or a darker, moody green yarn if you prefer an even more rustic look for your home office or entryway table. Please share a photo of your finished work with our crafting community online to inspire others. You can find more free seasonal projects and helpful tips by browsing our latest collection of knitting and crochet articles on the main blog page.