Easy Crochet Granny Square: Free Beginner Step-by-Step
A handmade granny square feels soft and dense, with a structural integrity that keeps its shape even after years of use. Beginners often find this pattern the most rewarding way to start their journey because the repetitive nature of the double crochet clusters allows hands to build muscle memory quickly. Whether you want to craft a cozy throw for your living room couch or a small gift for a friend, this modular project offers total control over the scale of your finished work. You will learn the exact sequence for turning corners and managing your yarn tension for clean, professional results every time you pick up your hook.
Why You’ll Love This Pattern
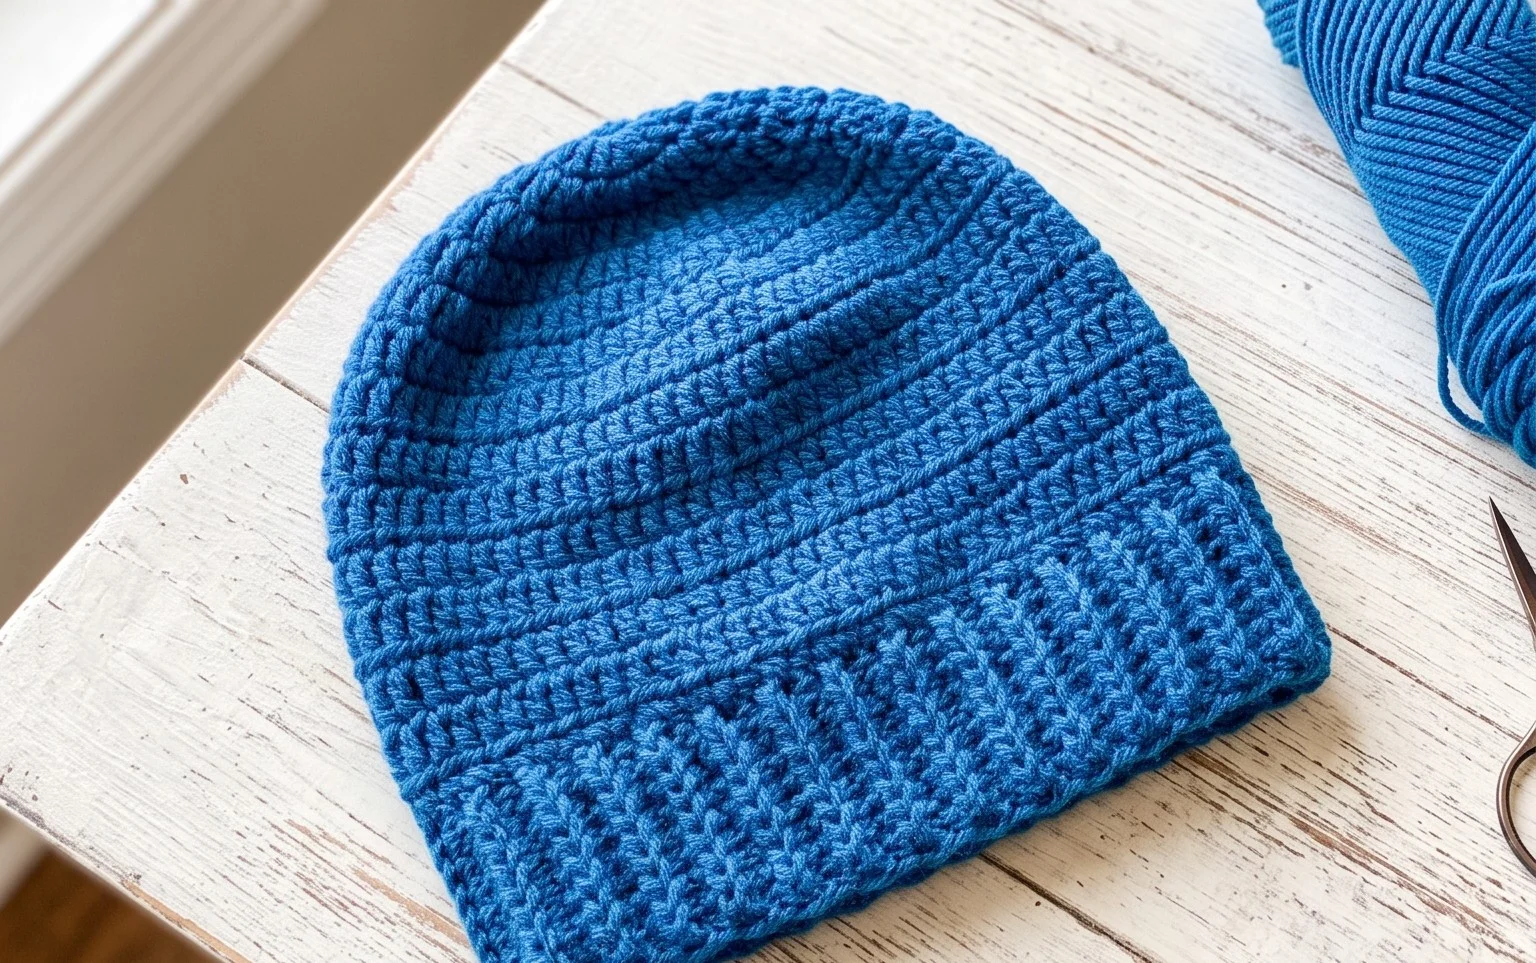
The Classic Crochet Granny Square is the quintessential building block for fiber artists because it balances simplicity with endless versatility. This pattern relies on a repeating shell stitch sequence that creates a clean, architectural look without requiring complex tension control. You will appreciate how quickly the work grows, making it an ideal choice for testing out new color combinations or cleaning out your stash of leftover yarn. Since the motif is worked in continuous rounds from the center outward, you can stop at any size to create anything from a small coaster to a sprawling bedspread.
I finally mastered the transition between corners thanks to this clear guide. My blanket squares are perfectly uniform for the first time.
— Sarah, hobbyist maker
Pattern Overview & Skill Level
- Skill Level: Beginner
- Approximate Time: 30 to 45 minutes per 6-inch square
- Construction: Worked in rounds from the center outward using double crochet clusters
- Finished Dimensions: 6 inches by 6 inches using worsted weight yarn
Materials & Supplies Needed
- Yarn: Worsted weight (#4), 100% acrylic or wool blend, approximately 30 yards per square.
- Hook Size: 5.0 mm (US H-8).
- Notions: Yarn needle for weaving ends and sharp scissors.
- Yarn Substitutions: You may use a DK weight yarn with a 4.0 mm hook for a smaller, tighter square, or a chunky weight yarn with a 6.0 mm hook for a larger, quicker motif. Changing weights will alter the final dimensions and drape.
Stitch Guide & Abbreviations (US Terms)
- ch = chain
- st/sts = stitch/stitches
- sl st = slip stitch
- dc = double crochet
- cluster = a group of 3 dc stitches worked into the same space
- sp = space (the gap created by ch stitches)
Step-by-Step Pattern Instructions
Granny Square Base
Begin by creating a foundation ring to hold your first set of stitches.
- Rnd 1: Ch 4, join with sl st to the first ch to form a ring. Ch 3 (counts as first dc here and throughout), 2 dc in ring, ch 2, *3 dc in ring, ch 2; repeat from * twice more. Join with sl st to top of beg ch-3. (12 dc, 4 ch-2 sps)
- Rnd 2: Sl st into the next 2 sts and into the first ch-2 sp. Ch 3, 2 dc in same sp, ch 2, 3 dc in same sp (corner made). *Ch 1, skip 3 sts, (3 dc, ch 2, 3 dc) in next ch-2 sp; repeat from * twice more. Ch 1, join with sl st to top of beg ch-3. (24 dc, 4 ch-2 sps, 4 ch-1 sps)
- Rnd 3: Sl st into the next 2 sts and into the first ch-2 sp. Ch 3, 2 dc in same sp, ch 2, 3 dc in same sp. *Ch 1, 3 dc in next ch-1 sp, ch 1, (3 dc, ch 2, 3 dc) in next ch-2 corner sp; repeat from * twice more. Ch 1, 3 dc in last ch-1 sp, ch 1, join with sl st to top of beg ch-3. (36 dc, 4 ch-2 sps, 8 ch-1 sps)
- Rnd 4: Continue in established pattern, working (3 dc, ch 2, 3 dc) in each corner ch-2 sp and 3 dc in each side ch-1 sp, separated by ch 1. Join with sl st to top of beg ch-3. (48 dc, 4 ch-2 sps, 12 ch-1 sps)
Finishing
Once you reach the desired size, fasten off your yarn by cutting a 6-inch tail. Pull the tail through the final loop and tighten. Use your tapestry needle to weave the tail through the back loops of the stitches on the reverse side of the square to secure it.
Care & Washing Instructions
- Machine wash on a gentle cycle in cool water (30°C) inside a mesh garment bag to prevent snagging.
- Lay the square flat on a clean towel away from direct sunlight to air dry.
- Steam block lightly if the corners curl, being careful not to touch the iron directly to acrylic fibers.
Pro Tips & Common Mistakes to Avoid
- Maintain Tension: If your square begins to ripple or bow, your tension is likely too loose. Try dropping down one hook size to tighten the stitches.
- Starting Rounds: Use a stitch marker on the top of your starting ch-3. This helps you identify exactly where to join your slip stitch at the end of every round.
- Weaving Ends: Weave ends in two different directions. For example, work through the stitches to the left for three inches, then turn and work back to the right for one inch to lock the yarn in place.
- Adjusting Size: Adding more rounds increases the size by approximately 1.5 inches per round. Remember that every additional round requires significantly more yarn than the previous one due to the expanding perimeter.
Frequently Asked Questions
Can I substitute wool for acrylic yarn?
Yes, you can substitute wool for acrylic. Note that wool behaves differently when washed, as it may felt if agitated or shrink in high temperatures. Always check the yarn label for specific care instructions regarding wool.
Is this pattern suitable for a total beginner?
This pattern is ideal for beginners. It focuses on the double crochet stitch and chaining, which are the most fundamental skills in crochet. Practicing these stitches in a round helps you understand how fabric grows from a center point.
How do I join multiple squares together?
There are several methods for joining, such as the whip stitch, the mattress stitch, or a decorative single crochet join. The slip stitch join is a common choice for a flat, clean seam between squares.
Can I sell items made from this pattern?
You are welcome to sell finished items created from this pattern. I ask that you credit the designer and use your own original photography for your listings.
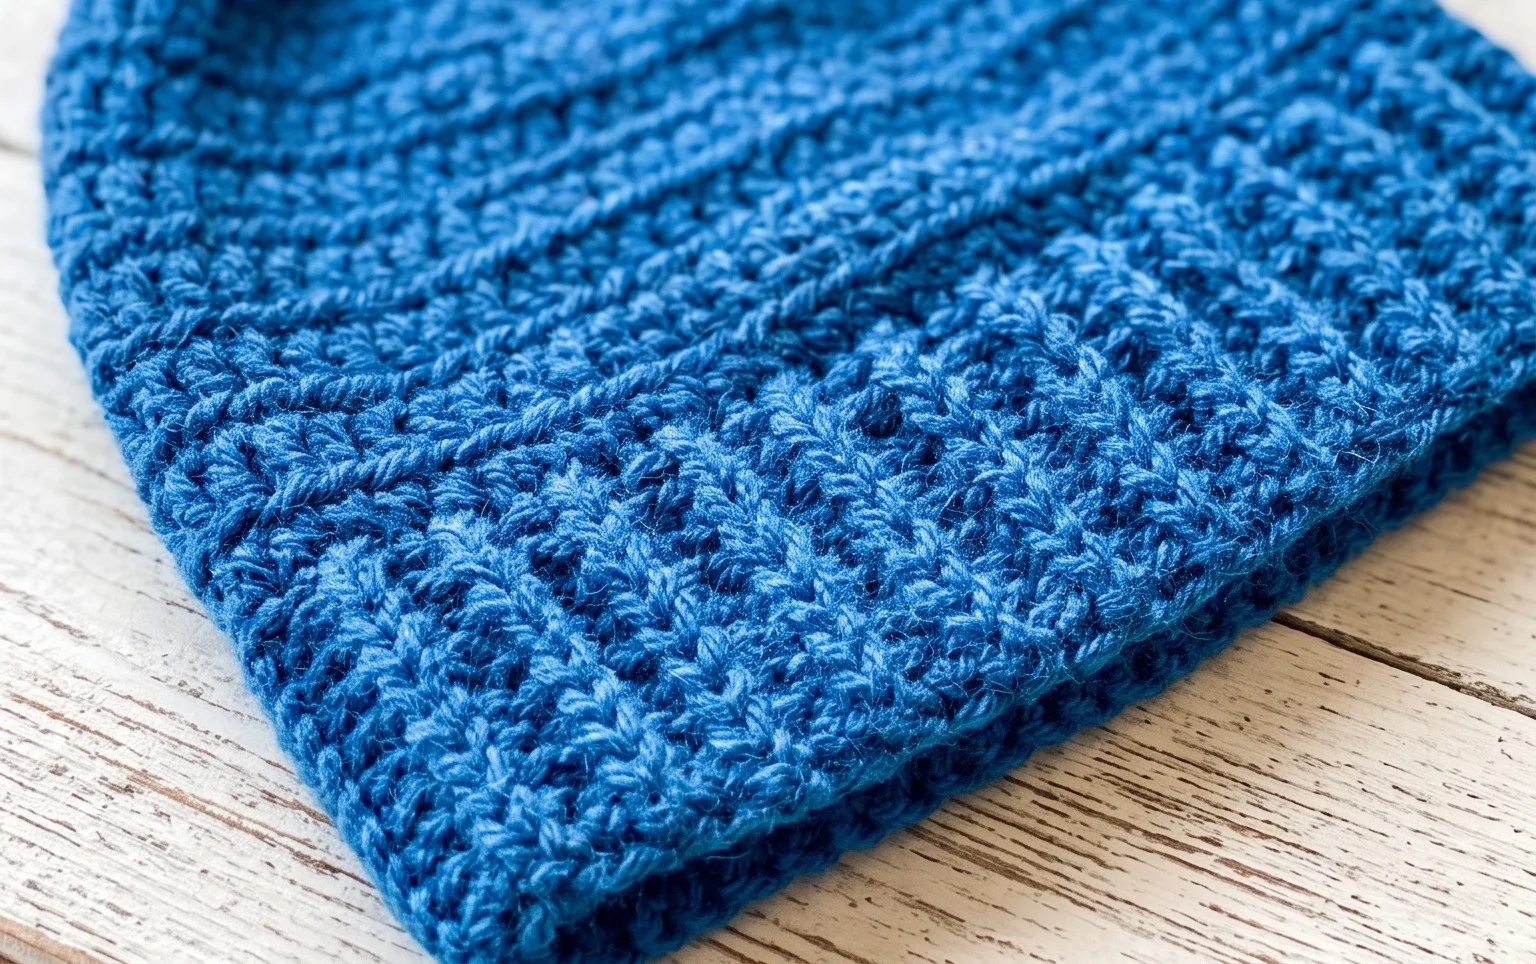
Your finished square looks polished and tidy, showing off the rhythmic texture of the classic stitch pattern. Try using two different colors on alternating rounds to create a bold graphic effect that makes your project stand out. If you enjoyed this build, upload a photo of your progress to your favorite social media site to show how your colors turned out. Feel free to browse our main index for more free pattern guides and inspiration to keep your hook busy throughout the coming season.