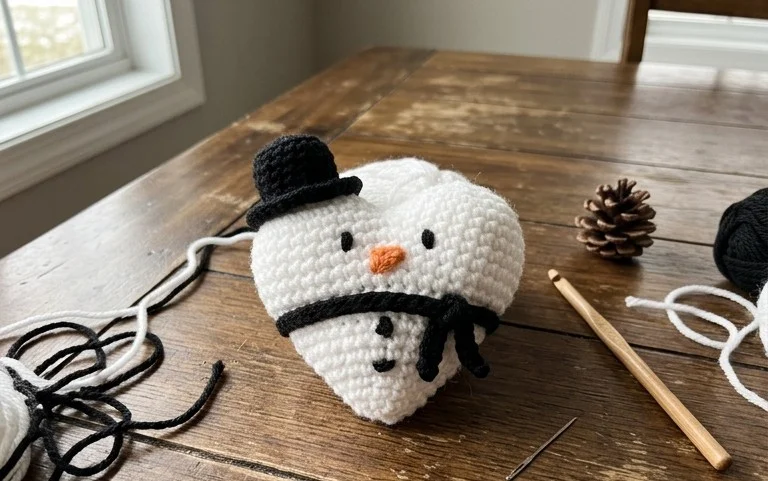
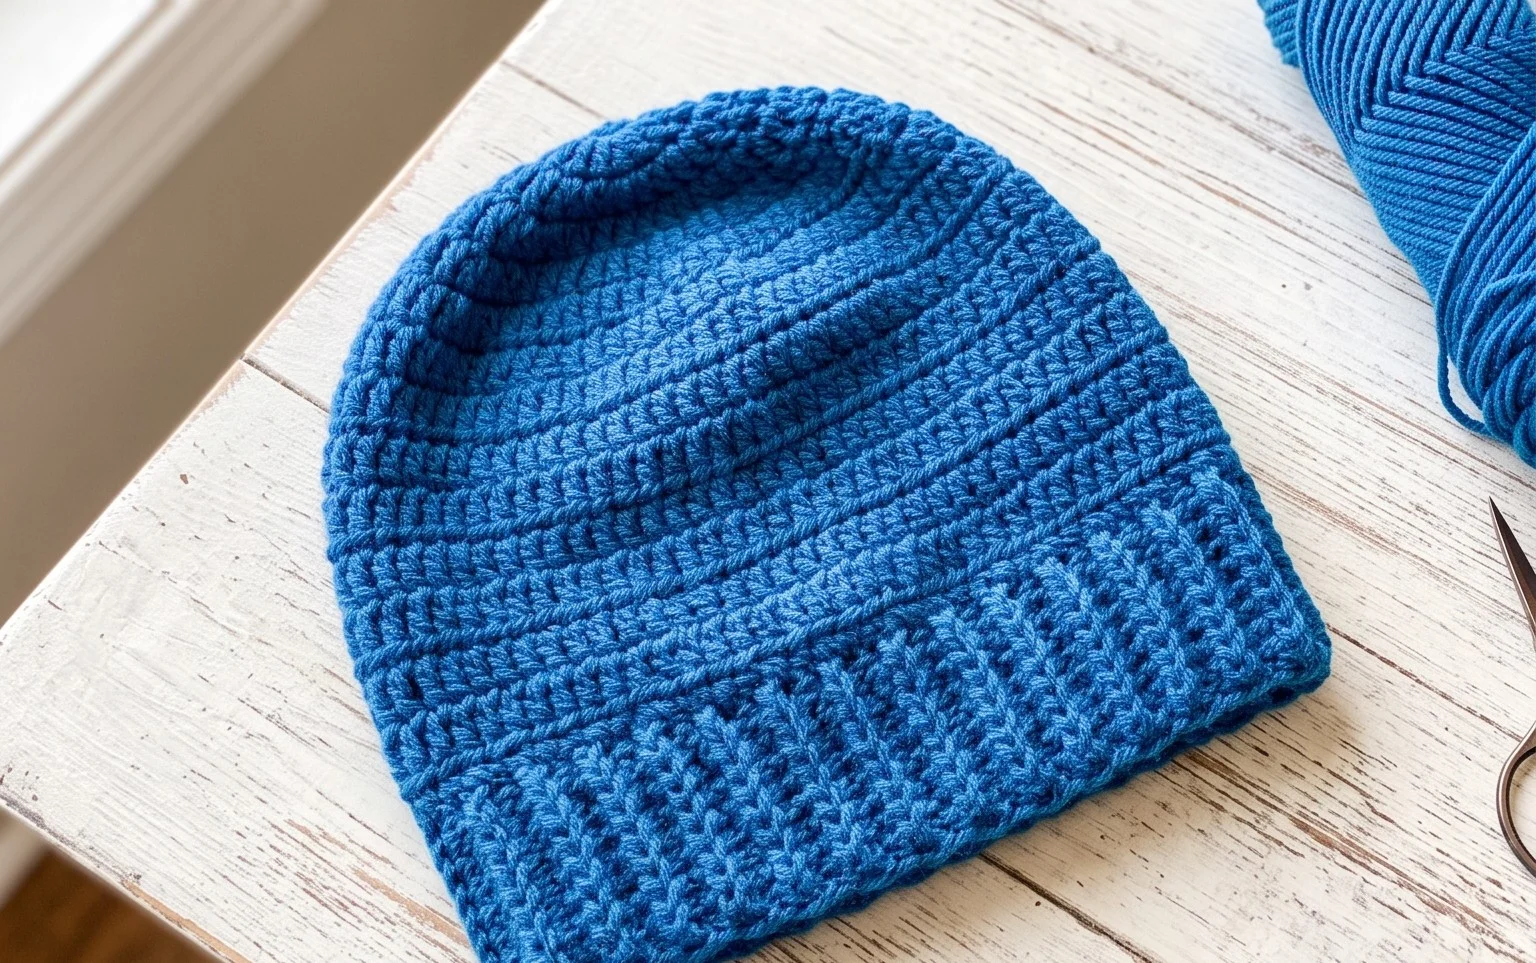
Easy 3D Crochet Stitch Tutorial: Free Beginner Pattern
These plump, squishy crochet bobbles pop off the fabric with a satisfying weight that makes them fun to hold and look at. You can use this simple textured stitch to add character to plain blankets or make standalone shapes for kids to play with during long car rides. Beginners enjoy this method because it relies on standard hook movements that grow into a dense, pillowy surface without needing advanced tension control. You will master the basic cluster technique used to push yarn outward, creating depth across your work in just a few short, meditative rows.
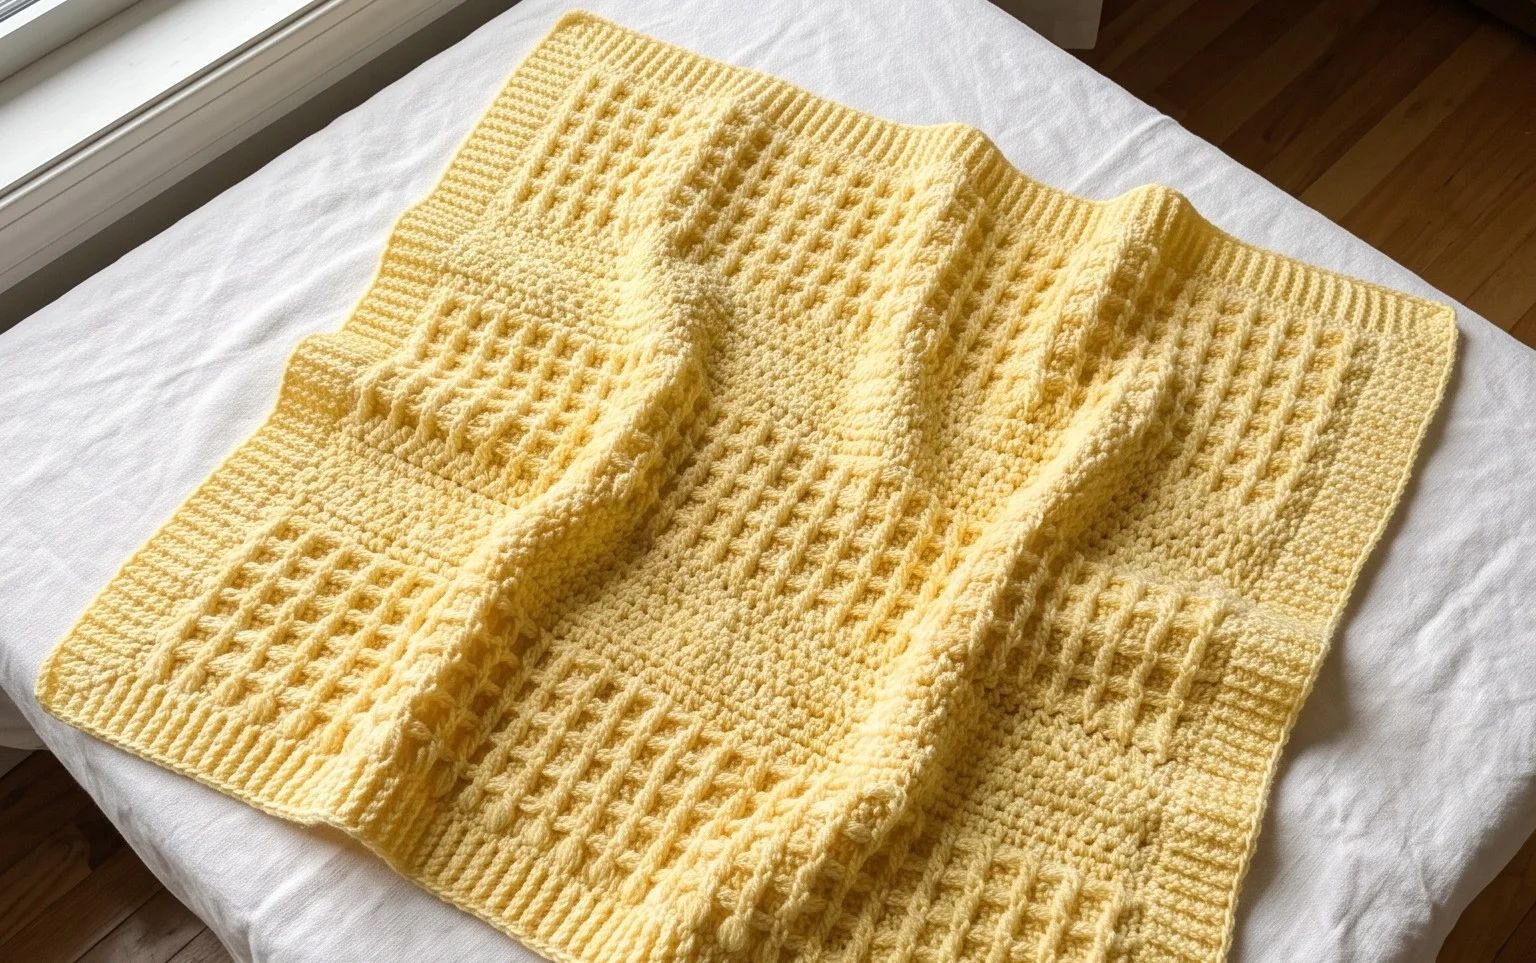
Why Crocheters Love It
This beginner-friendly project works up in under two hours, making it an ideal choice for last-minute handmade gifts. You only need a small amount of worsted weight yarn, so it serves as an efficient stash-buster for those partial skeins left over from larger afghans. The repetitive nature of the single crochet stitches provides a meditative experience, allowing you to build rhythm and confidence without navigating complicated stitch patterns. Because the finished piece is compact, it remains a portable project you can easily toss into your bag to work on during commutes or appointments.
I managed to finish this pattern in a single afternoon while watching television. The instructions are very clear, and it was a great way to use up my leftover yarn scraps.
— Sarah, hobbyist crafter
Pattern Overview & Skill Level
- Skill Level: Beginner
- Approximate Time: 1 to 2 hours
- Construction: Amigurumi-style continuous rounds worked in a spiral
- Finished Dimensions: 4 inches tall by 3 inches wide
Materials & Supplies Needed
- Yarn: Worsted weight (#4) acrylic or cotton blend, approximately 30 yards. Acrylic provides a soft, squishy texture, while cotton yields more defined, structured stitches.
- Hook Size: 4.0 mm (G-6) crochet hook.
- Notions: Polyester fiberfill stuffing, stitch markers to track the start of rounds, tapestry needle for weaving ends, and scissors.
- Yarn Substitutions: You may use DK weight yarn for a smaller, more delicate version, though you will need to decrease your hook size to 3.25 mm to prevent gaps in the fabric. Avoid bulky weight yarns as they can make the stuffing show through the stitches.
Stitch Guide & Abbreviations (US Terms)
- MR = magic ring
- ch = chain
- sc = single crochet
- inc = 2 sc in same stitch
- dec = single crochet 2 stitches together (invisible decrease recommended by pulling through the front loops only)
- st/sts = stitch/stitches
- sl st = slip stitch
Step-by-Step Pattern Instructions
Body
- Rnd 1: 6 sc into MR (6 sts)
- Rnd 2: inc in each st around (12 sts)
- Rnd 3: [1 sc, inc] 6 times (18 sts)
- Rnd 4: [2 sc, inc] 6 times (24 sts)
- Rnd 5: sc in each st around (24 sts)
- Rnd 6: sc in each st around (24 sts)
- Rnd 7: [2 sc, dec] 6 times (18 sts)
- Rnd 8: [1 sc, dec] 6 times (12 sts). Stuff the body firmly with fiberfill at this point.
- Rnd 9: dec 6 times (6 sts)
Finishing
Cut the yarn leaving a 6-inch tail. Use your tapestry needle to weave the yarn through the front loops of the remaining 6 stitches. Pull the tail tight to close the opening completely. Secure the yarn with a knot and bury the remaining end inside the body of the piece. If you wish to attach a hanging loop, ch 10 and sew it securely to the top center of the piece before closing.
Care & Washing Instructions
- Machine wash on a gentle cycle in cold water using a mesh garment bag to prevent snagging.
- Lay the piece flat on a clean towel to air dry, ensuring it retains its intended shape.
- Do not iron or bleach, as these processes can melt synthetic fibers or permanently distort the fiberfill stuffing.
Pro Tips & Common Mistakes to Avoid
Maintain consistent tension throughout the project to ensure the stuffing does not peak through the gaps between stitches. Always place a stitch marker in the first stitch of every round to keep an accurate count of your progress. When weaving in your ends, go back and forth through the interior of the stitches three times to lock the yarn in place, preventing the tail from working its way out over time. To adjust the size, add more rows of sc to the body section, but remember that increasing the circumference will require significantly more yarn and additional stuffing.
Frequently Asked Questions
Can I use a different yarn weight for this pattern?
Yes, you can use any yarn weight as long as you pair it with a hook size that creates a tight fabric. If you use a thicker yarn, your finished item will be larger, and you will need more yardage.
Is this project suitable for absolute beginners?
This pattern is excellent for beginners because it focuses on basic increases and decreases. Understanding how to work in a continuous spiral is the only technique required beyond standard stitches.
How do I keep my stitches from becoming loose?
Pull your yarn taut after completing each stitch to minimize the gap between them. You might also consider using a hook size 0.5 mm smaller than what is recommended on your yarn label to achieve a tighter, cleaner look.
Am I allowed to sell the items I make from this pattern?
You are welcome to sell finished items created from this pattern. Please credit the design to this guide whenever you list the item for sale in your own shop or online.
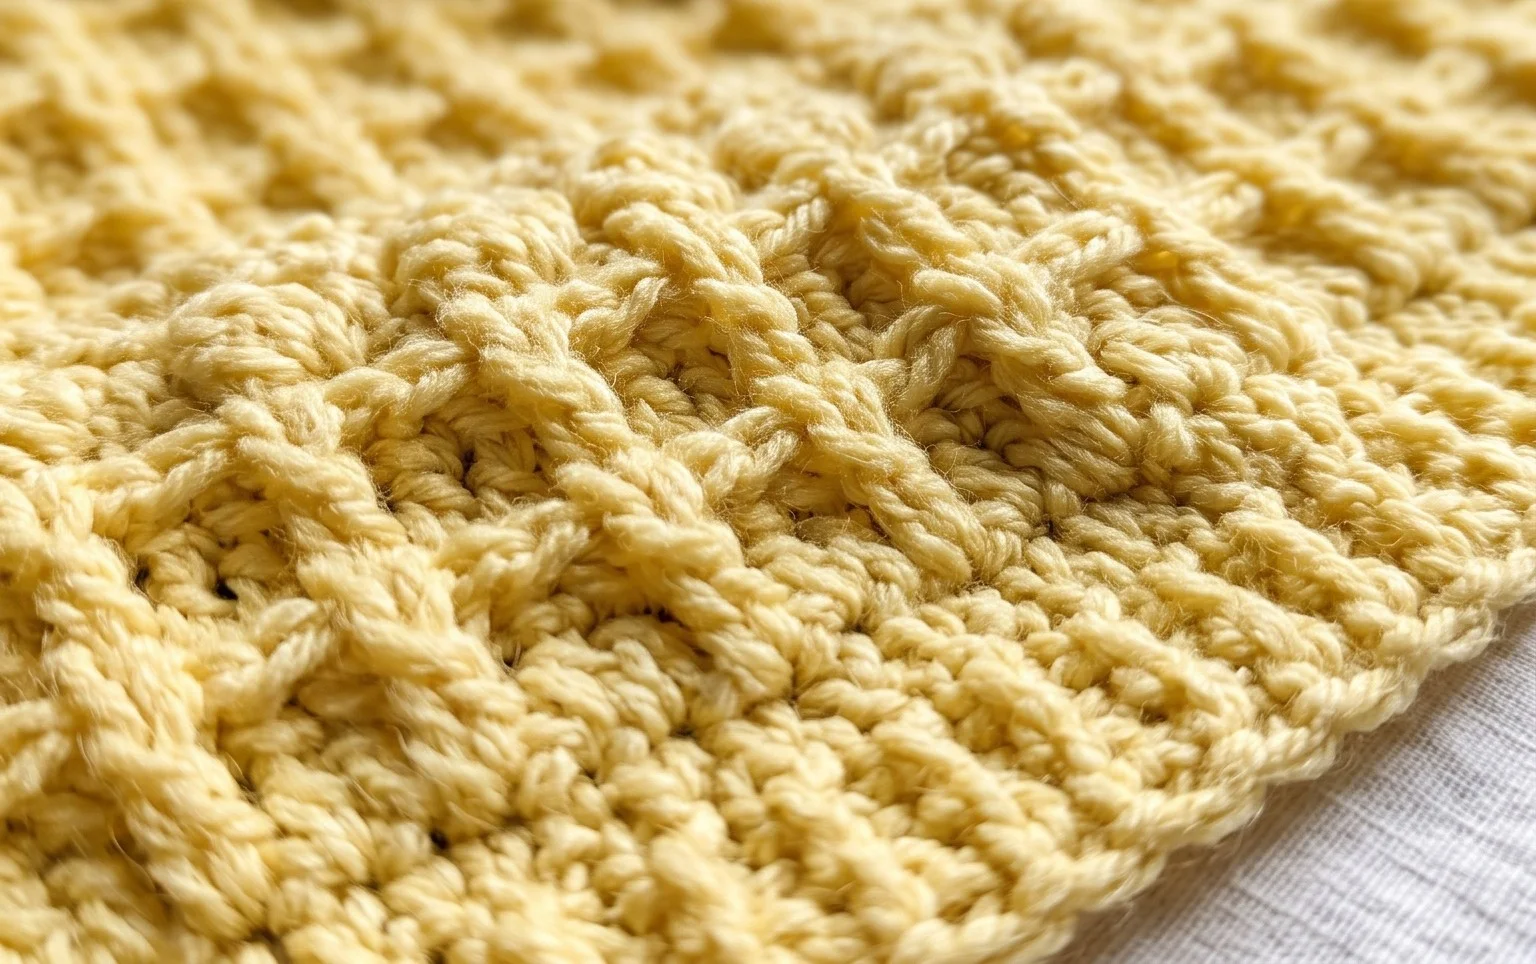
The finished piece sits flat on a desk or feels soft in your hand, providing a lovely sense of accomplishment. Try using a variegated wool yarn if you want the ridges to display an interesting color shift that highlights the depth of your work. Please tag your progress photos on social media so others can see your color choices. You can find more free tutorials for textured items by browsing the rest of the project archives on this site.